In my first article in this series in CODE Magazine, I made a controversial statement. I said: JavaScript is awesome. Seriously, anytime I say this, people think I'm joking. Sometimes I laugh with them. But the reality is that I laugh with them only to avoid an argument. Secretly, I do think JavaScript is indeed awesome. Sure, it has its flaws, after all, the language was invented in a week in a basement but tell me one other language that's equally flexible and runs everywhere, encapsulates both back- and front-ends, and runs with the performance of compiled languages.
Whether you like it or not, probably the most used application on both your phone and your desktop is your browser. As much as other approaches (Blazor (cough cough!)) are trying to encroach on its territory, which language do you end up interacting with the most as of today? It's JavaScript.
JavaScript is incredibly unopinionated. Although that's great because it fuels innovation, it doesn't tie you to doing one way of thinking and it also creates an interesting challenge. Anytime you wish to do something simple, there's no file\new_project approach here. You must build a project template from scratch, which involves a lot of decisions. And as you go along through the various phases of the project, you must keep making these decisions. Should I use package A or package B? Which package is better? How do I define better? Its long-term supportability? Security issues? Popularity of use? Or features?
These are some tough decisions. And even after you make these decisions, did you make the right decision? Is another larger development team in another company making a different decision that may affect the outcome of your decisions in the future?
It's for this reason that I started this series of articles. In my first article, I showed you how to build a simple project template from scratch. I combined ExpressJS and TypeScript to create both a front-end and a back-end for the JavaScript-based application. I ended the first article with a very simple working application, really just a project template, that had no functionality in it. But even then, I had a template that could run in Visual Studio Code, it supported live reload, debugging, full TypeScript support, client side and server side support, and much more. I encourage you to check the article out.
Of course, the plain vanilla JavaScript application template isn't something you can ship. So in the second article, I took it one step further, and crafted up a real-world application that talks to a database. I wrote a simple ToDo application, and for client-side scripting, used Vue JS; for server side I wrote an API in ExpressJS.
That's where I'll pick up in this article. In this article, I'll address a very important real-world concern: deployment. The code I have right now works great on a developer's computer. Shipping code to run in the cloud or on a server somewhere brings a whole set of interesting challenges.
A very popular and solid way of deploying code these days is using containers. In this article, I'll show you how I go about containerizing the application and deploy both the application and the database as two separate containers.
Git Repo Structure
Before I get into the weeds of this article, ensure that you have the starting point for the code of this article ready to go. All of the code for this article can be found at https://github.com/maliksahil/expressjs-Typescript. I'm going to leave the master branch as the basic starter code. The starting point for this article is in a branch called todoapp.
Get the Starter Code Running
I know I've covered this in depth in my previous article, but if you don't get this part working, you're going to be very lost in rest of the article. So let's get this part squared away. Use the following steps to get the starter code running on your computer. You'll need to do this on a Windows, Mac, or Linux computer that's set up to use NodeJS.
First, clone the repo:
git clone
https://github.com/maliksahil/expressjs-typescript
Next, check out the “todoapp” branch:
git checkout todoapp
For the purposes of this article, create a new branch called “deploy”:
git checkout -b deploy
At this point, you may want to repoint the origin of the Git repo to somewhere you can check-in the code, or just not bother checking it in if you just wish to follow along in this article.
Next, install the dependencies:
npm install
Then, create a new .env file. To get started, you can simply clone the .env.sample file:
cp .env.sample .env
Finally, run npm start and ensure that you can see the application running on localhost:8080.
If you need a walkthrough of this starter code, I highly recommend that you read my previous articles in CODE Magazine.
Add Docker Support
Docker is an amazing solution, and I've talked about it extensively in my articles in CODE Magazine https://www.codemag.com/Magazine/ByCategory/Docker) (and so have a few other people). Where it really shines is when I can deploy code to Linux containers running in the cloud. These containers are super lightweight, so they run fast, and because they're stripped down to the absolute bare minimum, they're secure, and they're cheap to run.
This is where NodeJS shines. You could have written the whole application on a Mac or Windows computer, but you can be reasonably confident that it will work in a Docker container. Now, it's true that some node packages could take OS-level dependencies. This is especially common in electron-based apps. But for this Web-based application, accessed through a browser, this isn't something I'm worried about.
When I dockerize my application, I want to ensure that my usual development lifecycle isn't broken. In other words, I still wish to be able to hit F5 in VS Code and run the application as usual. I don't want to run Docker, if I don't have an absolute need to. I know Docker is fast, but I don't want to slow my dev work down by that additional step of creating a Docker image, starting the container, etc. Although VSCode is amazing and so is remotely developing in a Docker container, I don't want to pay that overhead unless I absolutely need to.
There are situations where I want to pay the overhead for Docker even in local development. Now, to be clear, the overhead is just a few seconds. Frankly, it's faster than launching MS Word. For that little overhead, I find running the application containerized in Docker on my local dev environment useful for the following situations.
I want to take a dependency on numerous packages that I don't want to install on the main host operating system. I realize that there are things such as NVM or Conda that allow me to manage different node versions or different Python environments. To be honest, those - especially NVM - have been problematic for me. Maybe I'm just holding it wrong. But when I can just isolate everything in a separate Docker environment, why bother dealing with all that nonsense? Just use Docker.
Sometimes I may wish to isolate development environments from a security perspective. Maybe I'm working in a certain customer's Azure tenancy, perhaps I'm connected to their source control using a separate GitHub account, or perhaps I'm using tools that interfere with my other work. For all those scenarios and more, Docker gives me a very nice, isolated development environment to work in.
And finally, the elephant in the room, have you heard the phrase, “it works on my machine”? Docker gives me a way to ship my whole computer! There's no longer going to be this confusion that something in the production environment is different than in the test environment. When I ship my code, I have full confidence that what works locally is identical to what will run in production. Now, production could be on-premises or it can be in the cloud. In other words, what I run locally in my Docker environment, I can have confidence will work in the cloud as well.
Identify Dependencies
Speaking of “it works on my machine,” let's see what problems we can uncover. For a node-based development, I really prefer not to install stuff in the global namespace, because it makes my environment impure. It makes it harder to test how things will run in Docker. At this point, if you can manage to, uninstall all global packages except npm. If you can't uninstall global packages, you can find problems directly in Docker, but that will slow you down.
The first thing I'd suggest is that you take that dist folder you'd built and from which you were running your application, copy it to a folder outside of your main project folder, and simply issue the following command:
node index.js
You should see an error like this:
Error: Cannot find module 'dotenv'
If you don't see this error, you probably have dotenv installed in your global namespace. And this is why I really dislike frameworks that insist on installing things in your global namespace. I have only one. Keep your junk to yourself please.
Anyway, I need to solve this problem. In fact, dotenv isn't the only problem here. There are a number of packages I took a dependence on, and when I run the project from within the folder, it simply picks it from node_modules. Although I could just ship the entire node_modules folder, it would really bloat my project.
To solve this problem, I'll simply leverage the parcel bundler to create a production build in addition to the dev time build. If you remember from my previous article, the dev time build was already building client-side code. The client-side code isn't going to read directly from node_modules because it runs in the browser, so that was essential to get started. You can use a similar approach for server-side code.
To bundle server-side code, add this script in your package.json's scripts node:
"parcelnode":"parcel build main src/index.ts
    -o dist/index.js
    --target node
    --bundle-node-modules",
This line of code, when executed, will bundle all server-side dependencies except ejs, and output that in a file called dist/index.js. The reason it won't include ejs is because ejs is being referenced as a string and not as an import statement. This isn?t great, and I'm sure there are workarounds for this, but I'll keep things simple and simply install ejs as a node module in the Docker image. It's a single package, so I'll live with a little bloat for lots of effort saved. Let's chalk it up to “technical debt” for now.
Add a second script to create a production build in your package.json's scripts node:
"buildprod": "npm-run-all clean lint parcel parcelnode copy-assets"
Now build a production version of your application by issuing the command below.
npm run buildprod
You are greeted with another error:
Cannot resolve dependency 'pg-native'
Now, if you glance through your code, you aren't taking a dependency on pg-native. If you read through the stack trace, you'll see that one of the packages you took a dependency on is taking a dependency on pg-native. Okay, this is frustrating. Because this isn't a package that will easily install either, it takes dependency on native code. If I did that, I'd also have to install it on my Docker image. That's not a big deal, so perhaps this is the route I need take.
The frustrating part is that this is a rabbit hole I'm falling in, where identifying dependencies feels like an unpredictable never-ending hole of time suck. Well, this is the reality of node-based development. This is why, when I write node-based code, I always keep dockerization and deployment in the forefront of my mind, and try not to solve a huge project at once. I make sure that whatever package I take dependency on, it's something I can package or I don't take a dependency on it.
I'll simply alias this package, pg-native. I don't wish to take a dependency on it, I have no use for it, so I'll simply write some code to tell the parcel to effectively ignore it. Here is how.
In your package.json under the “alias” node, add the following alias.
"pg-native": "./aliases/pg-native.js"
In your project, create a folder called “aliases” and in that, create a file called pg-native.js, with the following code:
export default null;
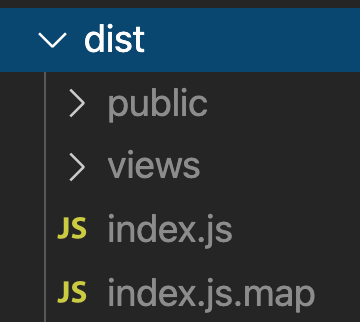
Now run the buildprod command again. This time around, my production version of the application should build. Verify that you can see the built version, as shown in Figure 1.
One obvious missing piece here is the .env file. The .env file, if you remember, is what you had various configuration information in, such as what port to run on, where the database is, etc., I could copy the .env file in, but if you look deeper into the .env file, it has a dependency on the database running on localhost. What is localhost on Docker? It's the docker image itself.
I think you can imagine that this may be a problem down the road. But let's not try to boil the ocean in one check-in. For now, just copy the .env file into the dist folder manually, copy the .dist folder to an alternate location your disk, and run the project by running node index.js. You should see the following console.log:
server started at http://localhost:8080
Now open the browser and visit http://localhost:8080. You'll see yet another error:
Error: Cannot find module 'ejs'
To get around this error, run the below command in your dist folder, and restart the project.
npm i ejs
At this point, verify that you can see your todos app, as shown in Figure 2.
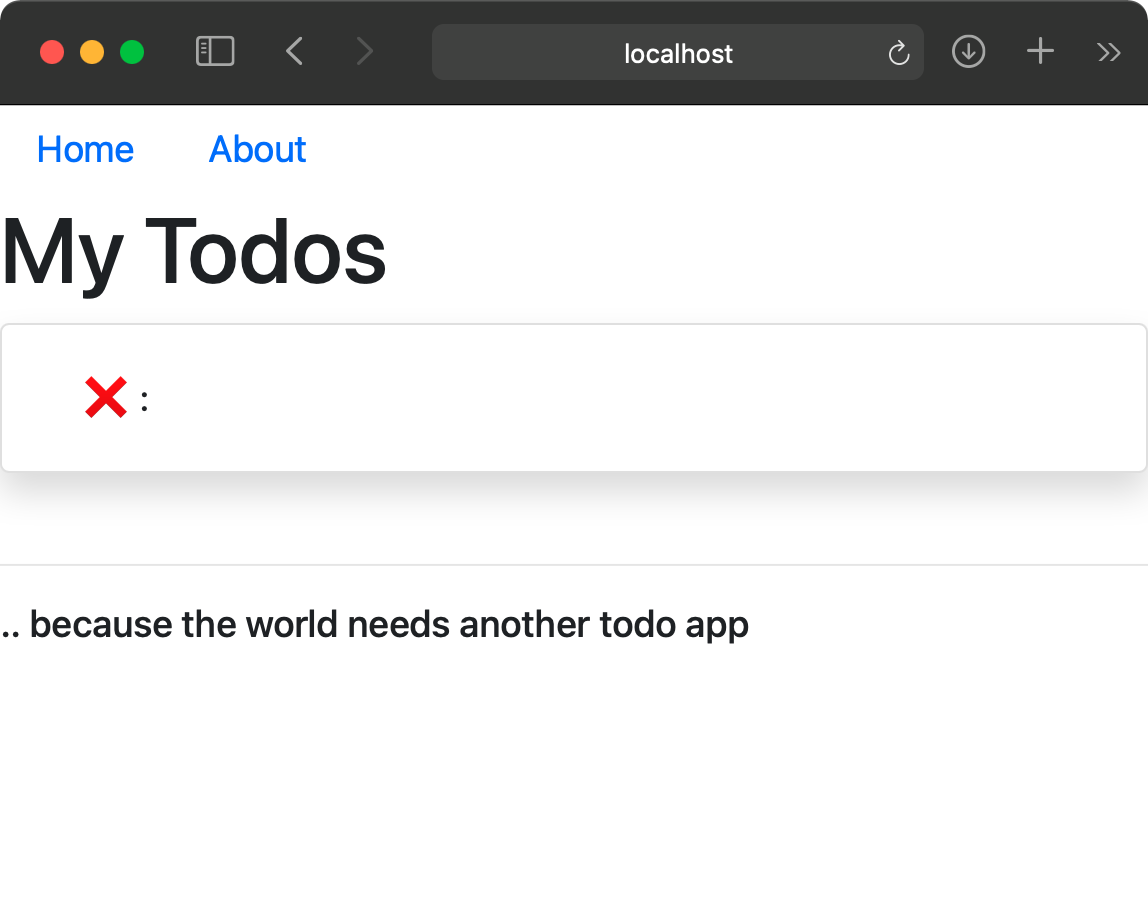
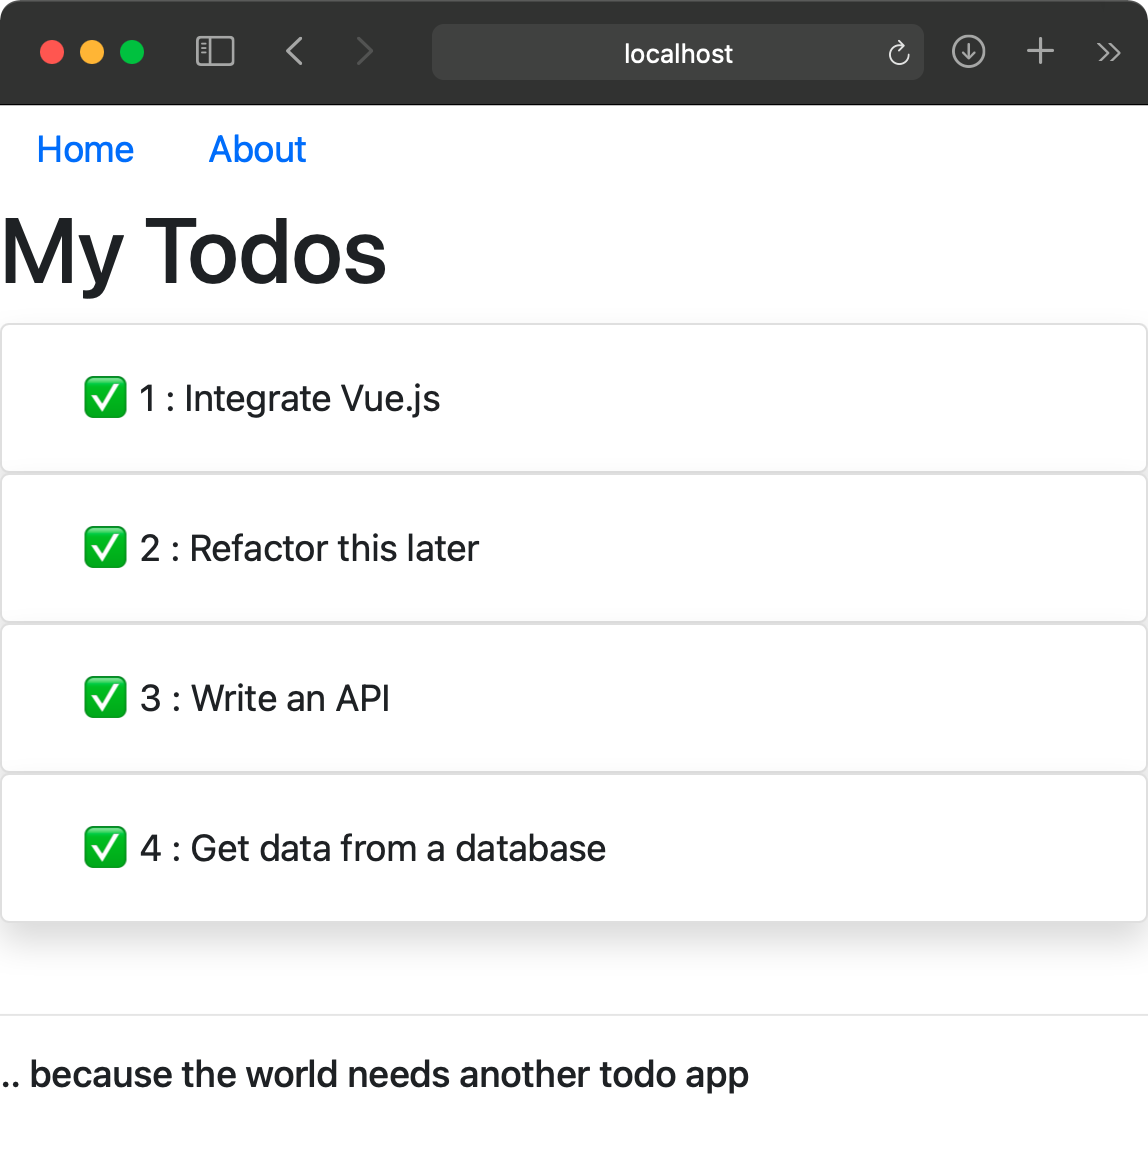
The reason you don't see any todos is because your database isn't running. You can go ahead and run the database as a Docker image by running ./db/setupdb.sh in your project folder. That shell command, if you remember from the previous article, runs the postgres database as a Docker image, exposed on Port 5432. Once you run the database, go ahead and refresh your browser, and verify that you can see the todos appearing, as shown in Figure 3.
Build the Docker Image
At this point, you've made some real progress. You've successfully identified and removed all dependencies that now allow the project to run completely isolated outside your dev environment. You've also identified two dependencies that you need to take care of outside of your bundling process. The first is the .env file, and the second is the ejs package that you need to manually install.
With this much in place, let's start building the docker image. This is a matter of authoring a Dockerfile in the root of your projects.
Create a new file called Dockerfile in the root of your project and add the following two lines in it.
FROM node:12
WORKDIR /app
These lines of code inform the Docker image that it will be built using a base image that's already set up to use node 12, and you will put your stuff in a folder called /app.
Below this, add two more lines of code, as below.
COPY ./dist ./
COPY .env ./
As you can see here, you're instructing the Docker build daemon that it needs to copy stuff from the “dist” folder. The dist folder should at this time already have a production version of the application built. Additionally, you're copying the .env file as well. This was an external dependency, not part of the final built image.
Speaking of external dependencies that aren't part of the build package, also go ahead and install ejs.
RUN npm i ejs
This RUN command will instruct the Docker daemon to run the aforementioned command in the Docker image, and therefore have ejs installed locally. There are better ways to do this, but for now, let's go with this.
My code is pretty much ready to go, but I need to expose the right port. This is necessary because Docker, by default, is locked down, as it should be. No ports are exposed unless you ask them to be. Because my application is running on Port 8080, go ahead and add the following command to expose this port to the outside world.
EXPOSE 8080
Finally, run the application in the Docker image.
CMD ["node", "index.js"]
At this point, your Dockerfile should look like Listing 1.
Listing 1: The Dockerfile
FROM node:12
WORKDIR /app

# Copy distributable code
COPY ./dist ./
COPY .env ./

# Install ejs
RUN npm i ejs

#Expose the right port
EXPOSE 8080

# Run our app
CMD ["node", "index.js"]
To smooth out your development, also create a file called “scripts/runindocker.sh” with code as shown in Listing 2.
Listing 2: Shell script to build and run the Docker container
docker build --tag nodeapp:latest .
docker container rm
    $(docker container ls -af name=nodeapp -q)
docker run -it --name nodeapp -p 8080:8080 nodeapp
Now, make this file executable:
chmod +x ./scripts/runindocker.sh
Go ahead and run it. Running this command should create a Docker image and run the container, and then start your application at localhost:8080.
The application should run exactly like Figure 2. The todos aren't loading, because the database isn't running, right? Sure, go ahead and run the database, as indicated above in the article, and refresh the page. What do you see? You'll see that your code still doesn't load the todos.
What's going on? If you examine the network trace in your browser tools, you'll see something similar to Figure 4.
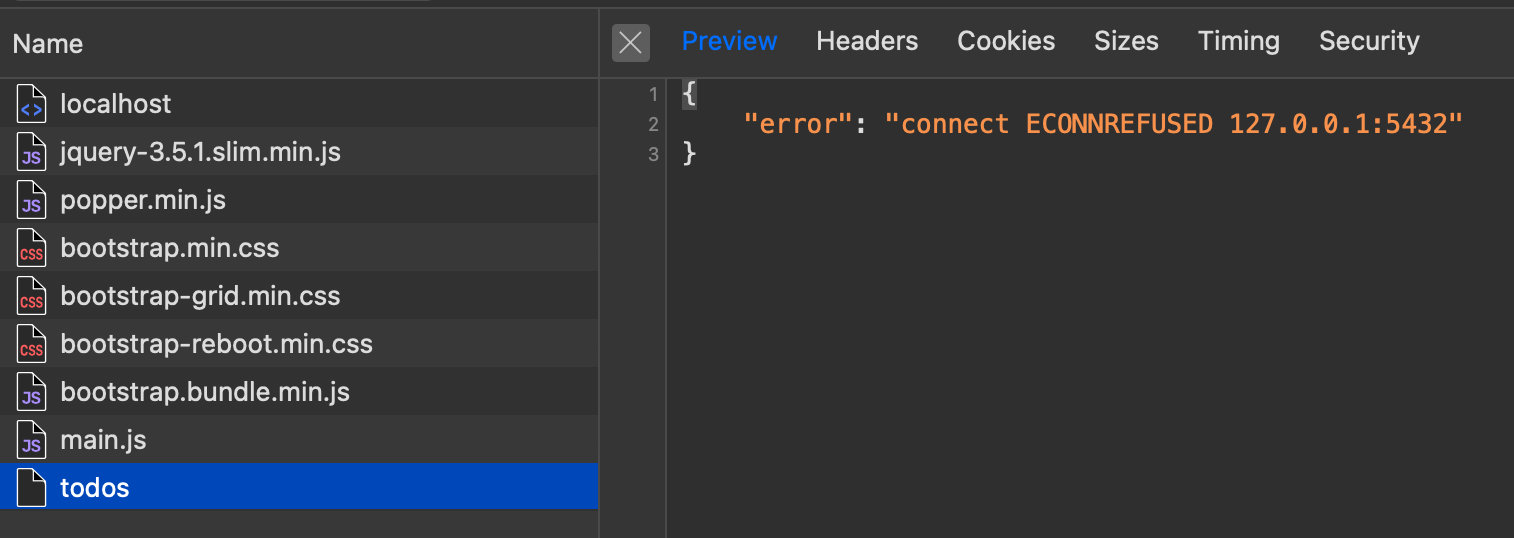
I can't seem to connect to my database. Aha! This makes sense. My Docker container is practically its own computer. The .env file had pointed the database to localhost. There's no database running on my NodeJS container. Ideally, what I'd like to do is be able to pass in the location of the database to the image as a parameter.
At this point, I've made some progress, and I'd like to commit this code. So go ahead and commit and push.
Parameterize the Docker Container
Much like central banks, I seem to have solved one problem and created two new ones. Although I can now run my application as a container, it has no clue where the database is. I need to somehow tell the Docker container, at runtime, where the database is.
This is where the benefits of dotenv come in. dotenv is great because you can supply it parameters from a .env file, and you can have as many of these .env files as you please, to match your environments. I ended up copying the .env into the Docker image itself. I have two choices here.
Either I can copy a .env for my needs when I start the container, or I can simply set an environment variable. Any environment variable will override what the application finds in the .env file. All I need to do now is to override the “PGHOST” variable from the .env file and I should be ready to go. The good news is that the environment variables in the Docker container belong to the Docker container. They don't interfere with the host OS, so this is a pretty clean way of setting such dependencies.
Now only if there was an easy way to inform Docker that at container start, I'd like a specific environment variable to have a certain value. Turns out, Docker has thought of this very issue. Just use the -e flag in the runindocker.sh file, as shown below.
docker run -it
    --name nodeapp
    -e PGHOST=$(hostname)
    -p 8080:8080 nodeapp
Go ahead and run the application container again. Verify that the application, now running in Docker, shows you todos, like in Figure 3.
At this point, I've made good progress. Go ahead and commit your code. You can find the commit history associated with this article at https://github.com/maliksahil/expressjs-typescript/commits/deploy. You can repro each step by pulling a specific commit down.
Something Still Doesn't Feel Right
In this article, you made some good progress. You took your NodeJS application that was effectively running nicely on a developer's computer, and you were able to dockerize it. The advantage here is that now it can run reliably on-premises, in the cloud, in any cloud. There will be fewer fights between the IT Pros and the developers. World peace. With fine print of course.
You had to work through a kludgy way of allowing the Docker container running the Web server to connect to the Docker container that was running the database server. This means that there will be networking details to worry about. As the application grows bigger and more complex, and uses more containers, this problem becomes exponentially more difficult.
Then there's the risk of someone snooping on the network communication. Why isn't the Docker Web server and Docker database in an isolated network? You'll have to just trust that the IT ogre did it properly. And you know he'll screw up.
Then there's the whole issue of reliability. What happens if my NodeJS process crashes? I'll need to add monitoring logic. I'll need to have something react to that health check. I'll have to bring the container back up. Then there will be container name clashes, so I'll need to make sure to get rid of the older names. There will be outages. And then there will be new versions adding to more confusion. There are going to be more IT ogre and developer fairy fights.
World peace is fragile, isn't it?
What I ideally want is to somehow specify that a bunch of containers work together in a certain way. These are the networking settings that the rest of the world doesn't need to worry about. This is how they tell the world they're healthy. This is how the application should react when they're unhealthy. This is how the application scales, etc.
I wish I could just describe all this in a file and ask all this to be “applied” and forget about it. That's exactly what products such as Docker Swarm and Kubernetes allow you to do.
Summary
If you've been following along in this series of articles, it's incredibly fascinating how involved and rewarding it can be to write and deploy a NodeJS-based application. The application you just wrote and deployed is deployed as a Docker image that's a total of 925MB in size. You can verify that by running “docker image ls”. Try to wrap your head around that: 925 megabytes that package an entire OS, an entire runtime, and your application, and it runs for cents a month, scales very easily, and orchestrates well with platforms like Kubernetes. This is some really powerful stuff.
No wonder everyone is gaga over it. But the challenge remains: the learning curve and bewildering array of options make it very difficult to go from Point A to Point Z.
It's exactly that problem I wish to solve in this series of articles, going from Point A to Point Z, arguing and debating every step, giving you the reasons why I make a certain decision over another, and sharing the history of why things are the way they are.
In my next article, I'll continue this further by adding more deployment concerns, where I'll extend my simple two container application to Kubernetes. I'll deal with some interesting challenges, such as how to keep secrets, such as the database password, safe.
Until then, happy coding.